Layers
Infix Pro PDF Editor offers a simple way of editing documents which include layers. Using the layers panel you can show and hide individual layers in a document to make editing easier. Since Infix Pro PDF Editor ignores objects in hidden layers, it can make editing more responsive if you hide all irrelevant objects before you begin to edit. You can also move objects between layers.
- Choose View->Layers to open the layers panel.
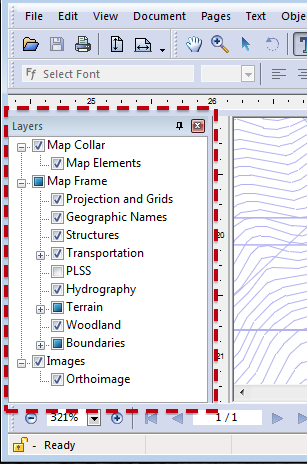
You may drag the title bar of the layers panel to make it into a floating window. - Click on the check box next to each layer to show or hide it from view.
- Click on the layer name to rename it.
Any name change is stored in the PDF when it is next saved. - When you click on an object during editing, the containing layer is highlighted (if the layers panel is open).
Moving objects between layers
- Select the objects to be moved with the Object tool (
 )
) - In the Layers Panel (View->Layers) select the layer to which you wish to send the objects.
- Choose Object->Arrange->Send To ‘Layer 1’ (the menu title will change to reflect the name of the selected layer)
The object will be marked as belonging to the selected layer. This change will be stored in the PDF next time it is saved.
Notes
- Infix Pro PDF Editor cannot create or delete layers.
- Changing the visibility of layers affects only the way it is displayed in Infix Pro PDF Editor. No permanent change is made to the PDF.