OCR Corrections
Infix Pro PDF Editor can be used to adjust the hidden text associated with a scanned document. This text is generated during OCR (Optical Character Recognition) of a scanned image either by Infix Pro PDF Editor or other OCR software such as that which comes bundled with a scanner.
The OCR text is hidden in the PDF so that it can be searched whilst the user sees only the original scanned image. Often there are errors in the hidden text that can be difficult to fix (because it is hidden).
- Open the PDF to be corrected then choose Document->OCR Corrections->Start.
Since OCR mode could cause a PDF to be substantially changed, you will be asked to confirm your choice.
Always make sure you have a backup of the PDF before you start this mode.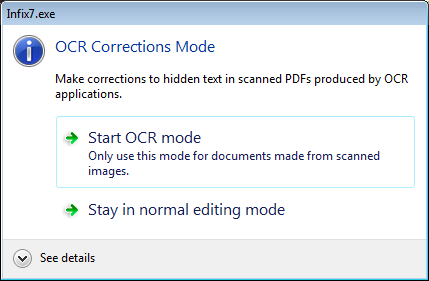
- Choose Start OCR mode to begin.
The hidden text becomes visible, the scanned image faded and locked to make editing easier. - You can now edit the text whilst making reference to the original content in the image.
- After all corrections have been done, choose: Document->OCR Corrections->Finish
The OCR text, including any edits you made will become invisible and the scanned image restored to its normal density.
If OCR text remains visible
If you find some unwanted text remains visible in your document, choose Document->OCR Corrections->Hide all text which will make all text invisible even if it wasn't originally hidden. Since this operation cannot be undone, please ensure you save a copy of your document first.
Notes
- If your document happened to contain any text added after the scanning process, this too will be hidden at the end of the correction process.
- Choose View->Text Boundaries to see the boundaries between different blocks of text.
- Changing the colour of the OCR text can make it easier to distinguish from the background image. This will not affect the finished PDF.
- Some OCR packages create many small text blocks that are difficult to edit. See Merging text boxes