Changing Colour
You can change the fill and stroke (outline) colours of selected objects.
- Click on the Colour Picker button in the toolbar to open the colour picker dialog box.
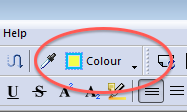
The button changes colour to show the current fill and outline colours of whatever object is selected. - The Colour Picker dialog shows the current fill and outline colour of the selected objects.
When multiple objects with different colours are selected, the fill and/or stroke colour will display '??' as shown below: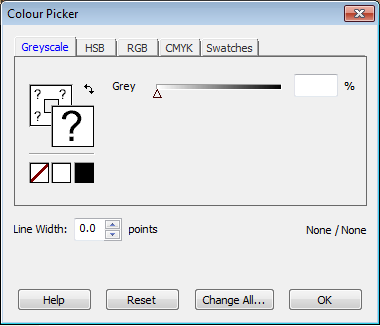
The Colour Tabs
- Grey-scale - shows just shades of grey from 0 (black) to 100 (white)
- HSB - Hue / Saturation / Brightness is a simpler way of choosing colours
- RGB - Red / Green / Blue - choose colours based upon three primary, additive colours.
- CMYK - Cyan / Magenta / Yellow / Black - choose colours based on 4 subtractive colours corresponding to the inks used in printing.
- Swatches - Choose from colours already present in the document. This is very handy for named process colours or spot colours.
Choosing stroke or fill colour
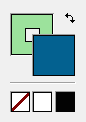
Click on the stroke/fill boxes to toggle between fill and stroke colours. The box that comes to the font reflects the colour (fill or stroke) that is being changed.
|
|
|
|
Click on the stroke colour box (shown green here) to bring it to the front and change the stroke colour. |
Click on the fill box (shown blue here) to bring it to the front and change the fill colour. |
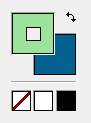
Removing fill or stroke colour (make invisible)
To remove the fill or stroke colour completely, press the the white square with a red line through it - ![]() . The adjacent squares of white and black act as a short-cut to setting those colours.
. The adjacent squares of white and black act as a short-cut to setting those colours.
Swapping fill colour with stroke colour
To swap the fill and stroke colours around, press the switch button - ![]()
Original Colour Space
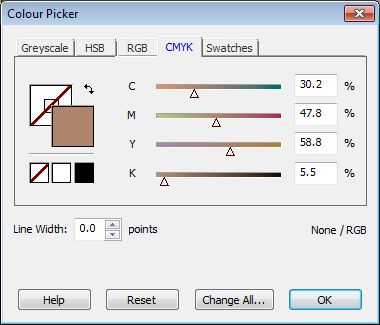
The original colour space of the selected object(s) is shown in the bottom right of the dialog: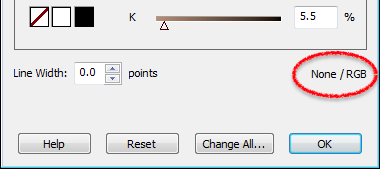
In this example, the Stroke colour space is None (invisible), Fill is CMYK
When changing colours, the highest fidelity will be gained using the tab corresponding to the original colour space. In this case, choosing a colour with the CMYK tab will require no adjustments afterwards since the fill colour space is CMYK. If you used the RGB tab, the colour values would be converted to CMYK giving an approximation of the colour you chose.
Changing all colours in the document
To change all occurrences of a colour to a different one, choose the new colour then press Change All...
See Find & Replace Colours for more details.
Notes
- The colour picker will try not to alter the underlying colour-space of the original selection but will do so in those cases where it would otherwise be impossible to achieve the chosen colour.
- You cannot change the colour of an image but you can edit images with an external editor.